
DIY Diwali Art: How to Create a Flower Garland & Rangoli Picture
Posted by EYR Team on 21st Oct 2024
read more
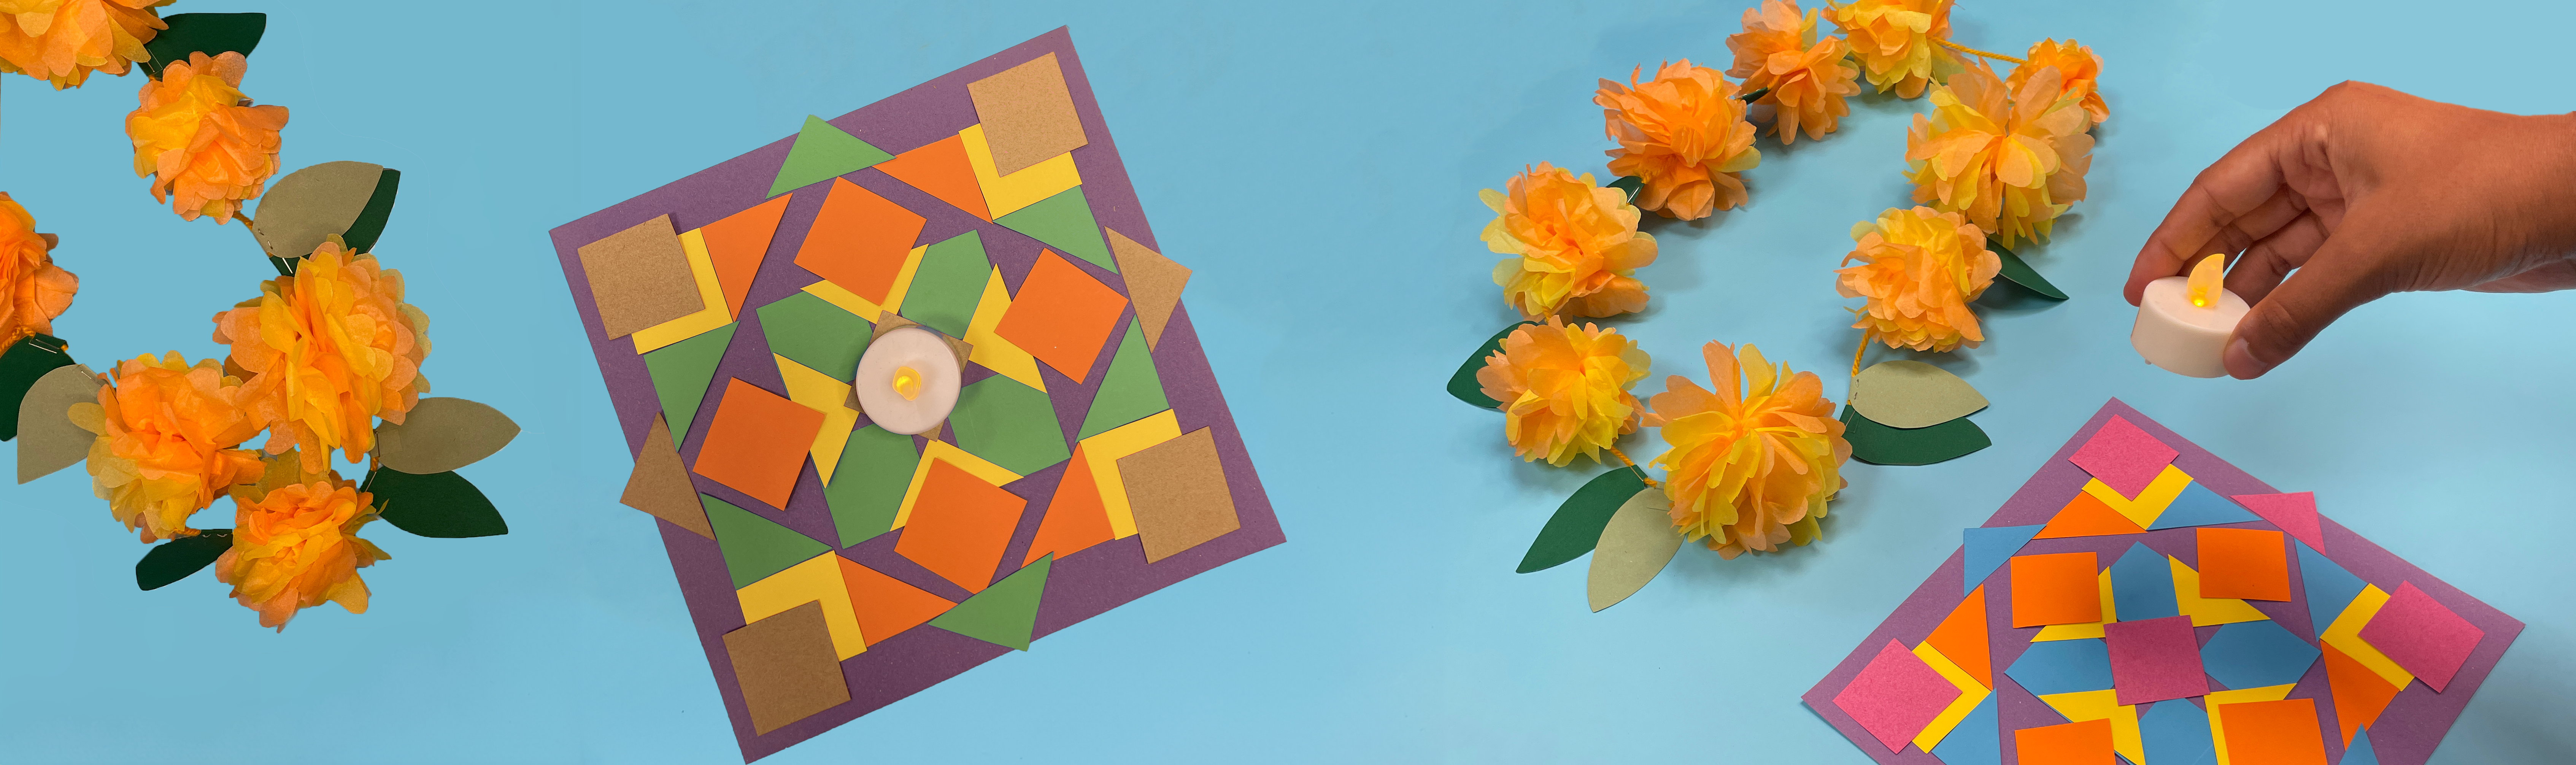
Celebrate the Festival of Lights by creating Diwali art to display! In this blog, we show you how to make pom pom marigold flowers and colourful rangoli art with a few basic supplies. These Diwali decorations are ideal craft projects for children aged 7-11 years to symbolise new beginnings.
How to create a marigold flower garland:
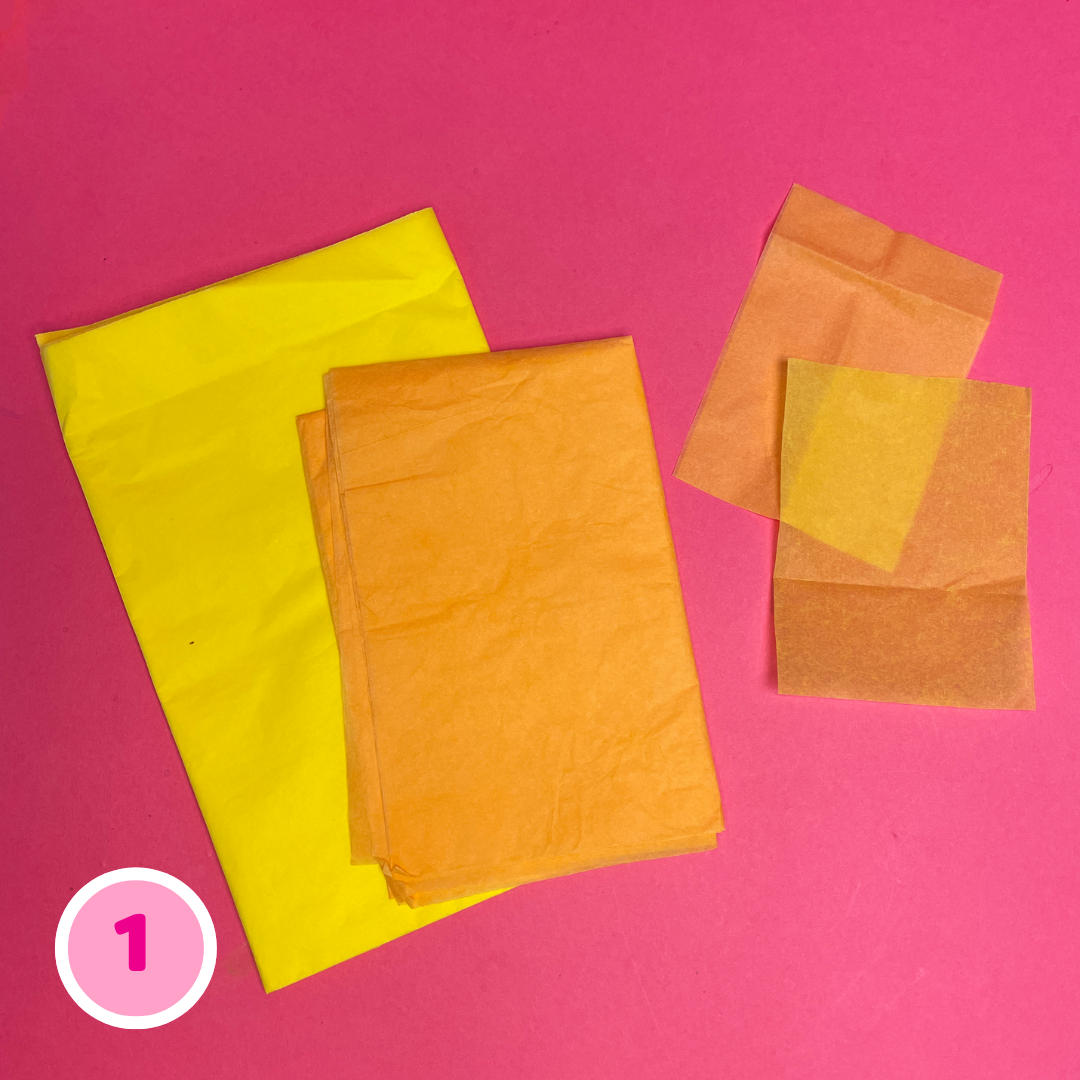
- Gather 5-10 sheets of yellow and orange coloured tissue paper and cut them into rectangle shapes measuring 10cm x 12cm.
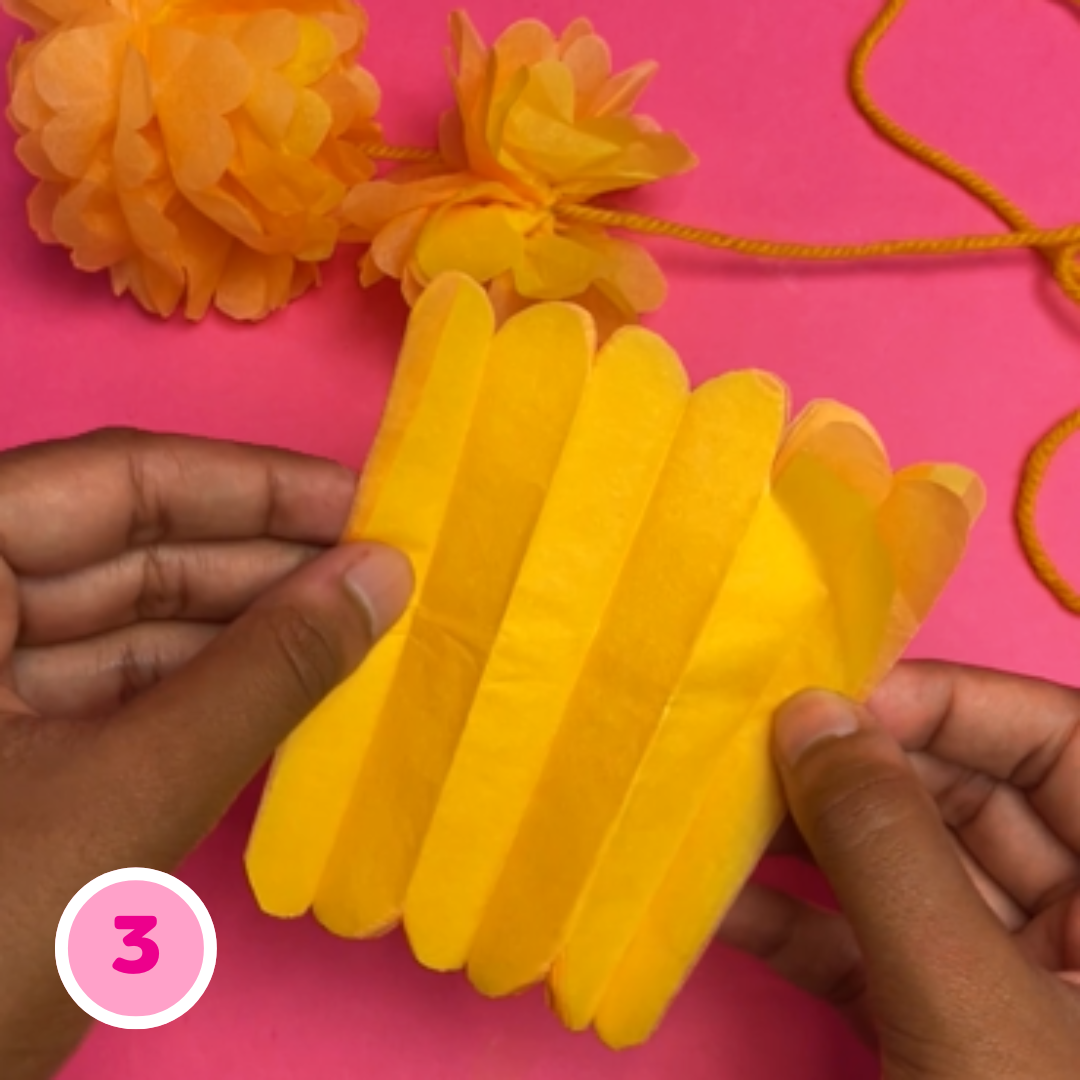
- Fold the tissue paper sheets into half and repeat this again until you have a strip of folded tissue paper. Experiment with layering different colours for different shades of flowers.
- Trim the top and bottom of the strip of tissue paper into a rounded shape. This will help to shape the petals of the flowers.
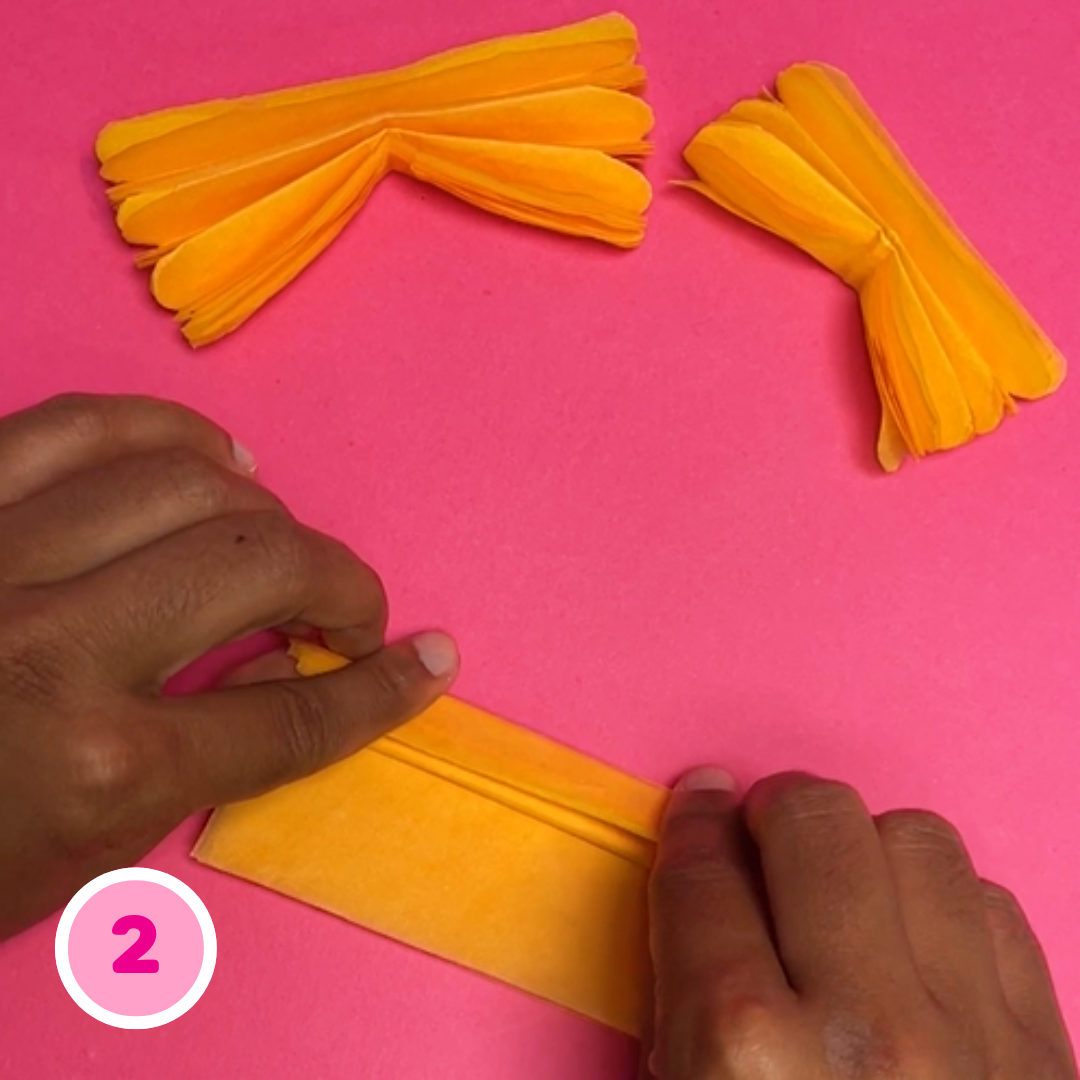
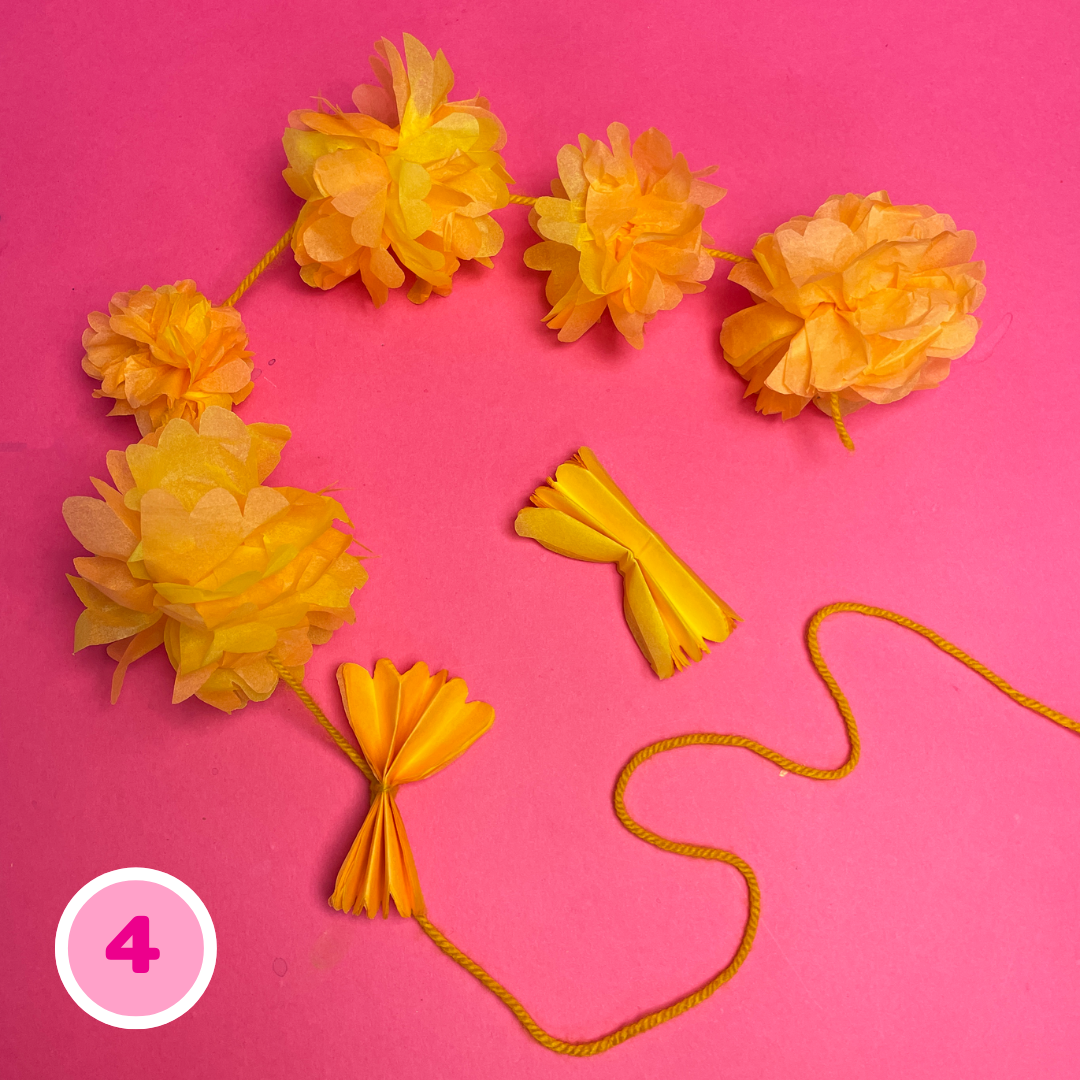
- Measure out a long piece of string and tie the tissue paper strip securely in place around the center. Pull apart the tissue paper to fan out the leaves and repeat his process until you have enough flowers.
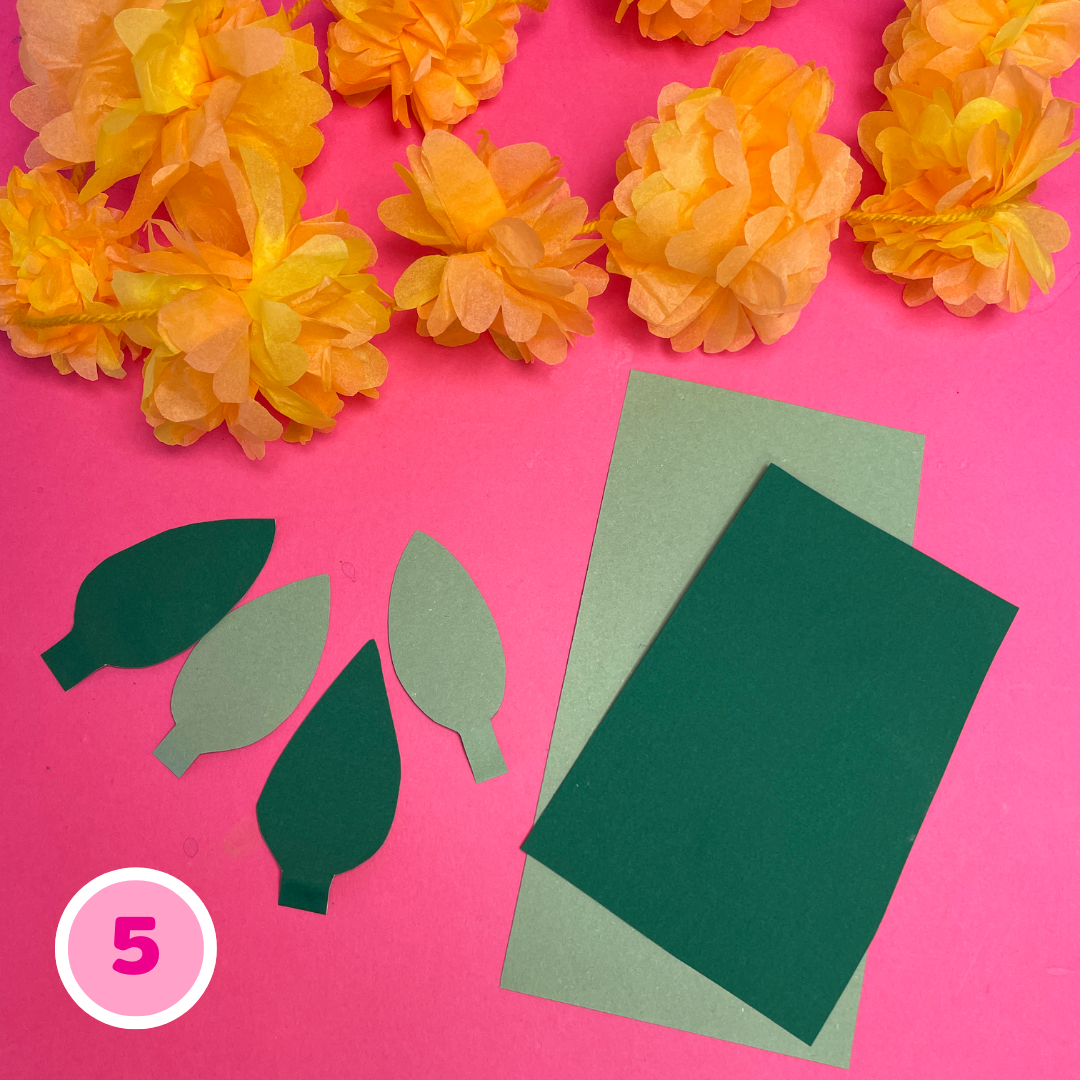
- Use green paper to cut out leaves, making sure to leave small tabs at the ends to attach to the garland.
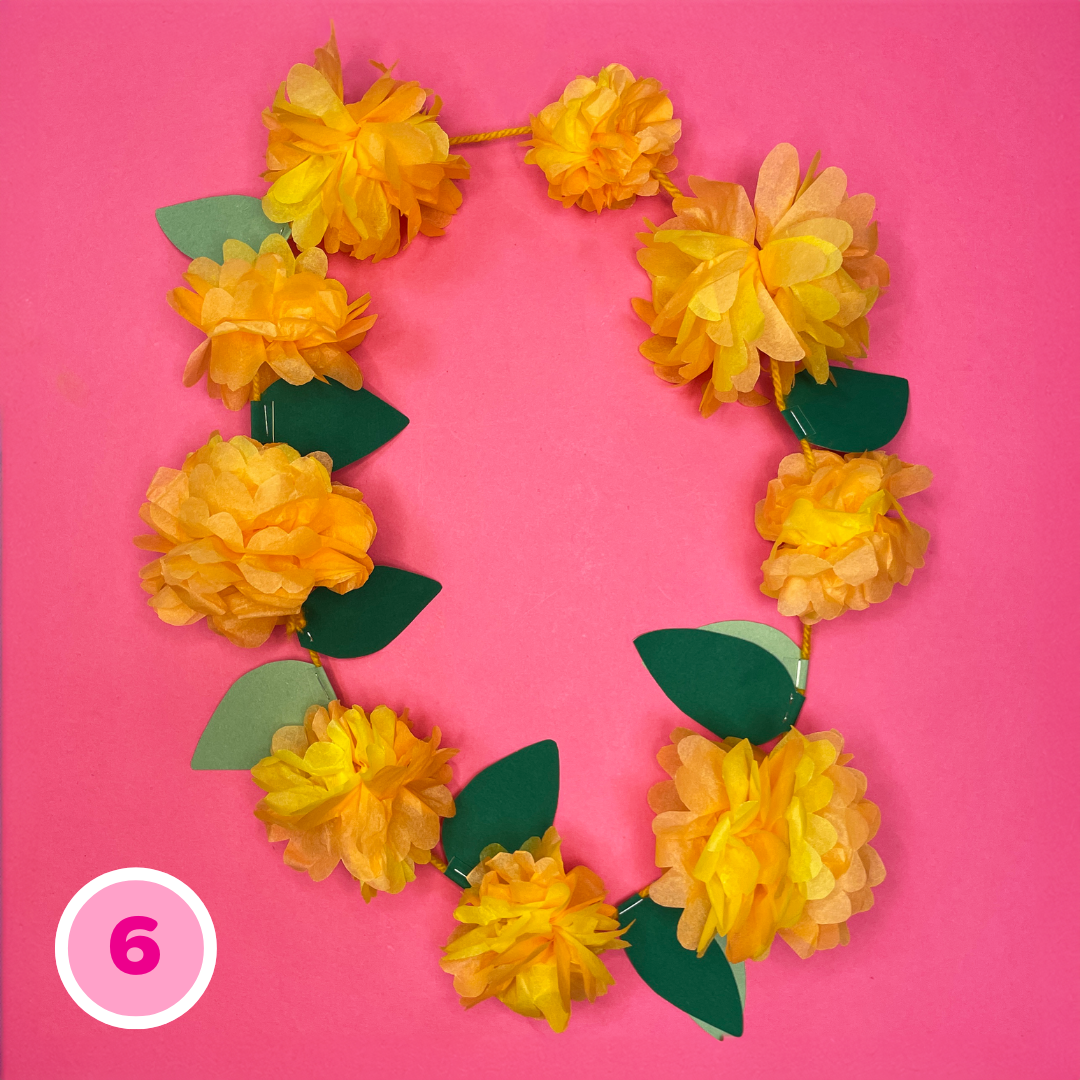
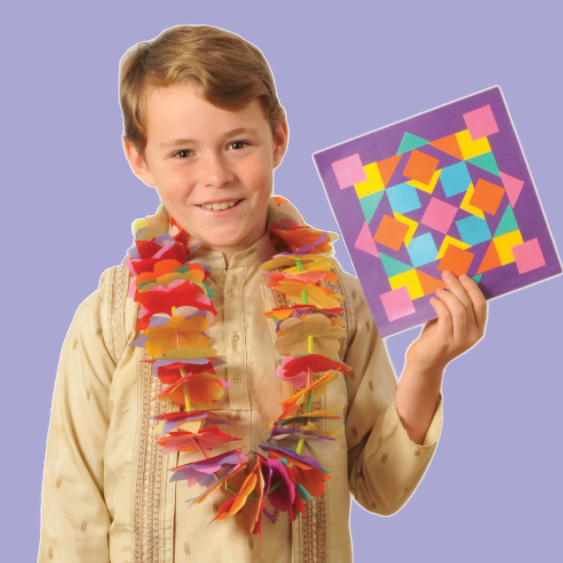
- Fold the leaf tabs around the string and staple in place to complete your garland! Hang up to display as Diwali decor or wear!
You will need: tissue paper, string, green paper, a stapler, scissors
How to create a rangoli pattern picture and flower garland:
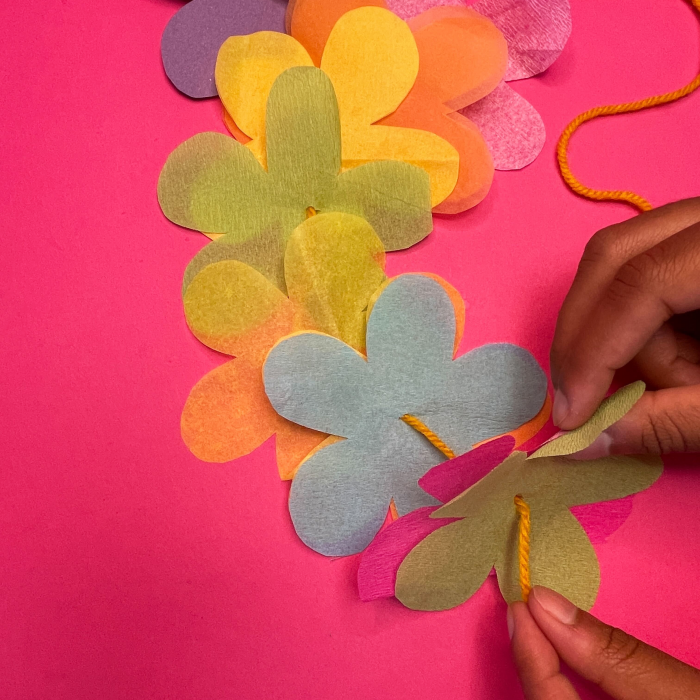
For the Diwali garland:
- Cut out lots of colourful flowers from tissue paper. The quickest way to do this is to fold the tissue paper a few times and cut through several layers at once.
- Take a drinking straw and cut it up into approx. 2cm lengths. Repeat this with a number of drinking straws.
- Thread the needle with a long length of string and sew through the centre of three or four tissue paper flowers. Then thread one of the short straw pieces onto the flower garland string. An adult should be present when the needle is in use.
- Continue in this way, adding groups of paper flowers separated by short straw tubes. When the garland is long enough, knot the ends of the yarn and trim to fasten.
You will need: craft paper, a pencil, tissue paper, drinking straws, scissors, a plastic needle
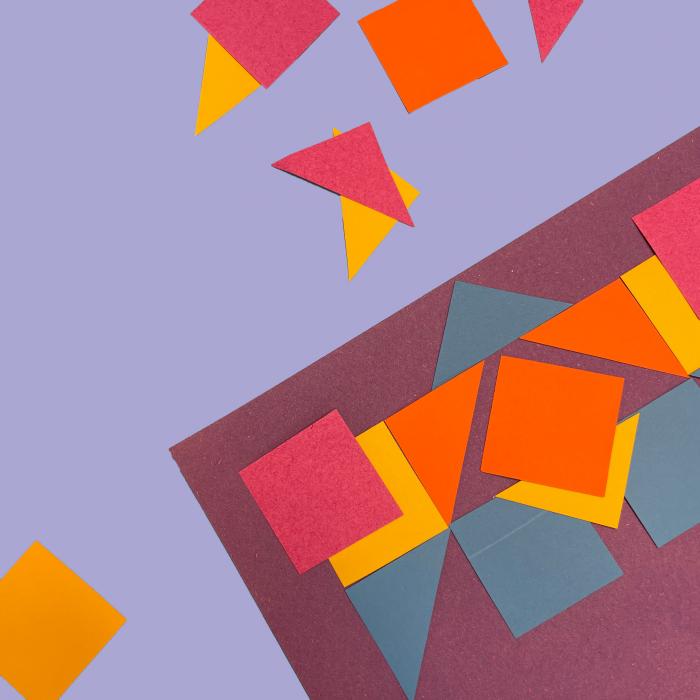
For the rangoli design picture:
- Cut out 3cm squares and triangles from your coloured card.
- Ask your little ones to arrange their rangoli patterns on a sheet of coloured paper.
- Once happy with their Diwali art design, simply stick all the shapes down using the glue!
You will need: coloured paper, a pencil, a ruler, scissors, glue
We would love to see how you get on with your Diwali art activities! Share your masterpieces on social media with us by tagging us or using the hashtag #ExploreWithEYR.