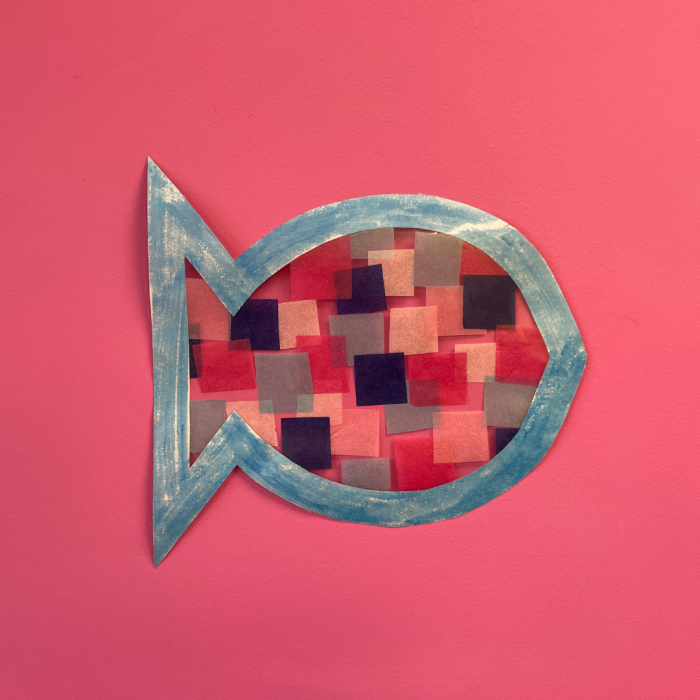
How to make your own DIY Fish Sun Catcher
Posted by EYR Team on 29th Oct 2018
read more
Looking for some summer holiday craft activities? Then look no further, enjoy the British summer sun with this easy-to-make, colourful sun catcher!
You will need:
- Black Card
- Clear Sticky Back Plastic
- Coloured Tissue Paper
- Thin Ribbon
- Scissors
- Glue
- Hole Punch
- Pencil
How to make your Fish Suncatcher
- Start by taking a sheet of black card. Use a pencil to draw the outline of a fish on the card, then carefully cut out the shape.
- Cut two pieces of sticky back plastic the same size as the fish shape. Peel the backing paper off one and stick it over the shape. Turn over the fish to reveal the sticky window.
- Cut or tear the coloured tissue paper into small squares ready for the next step.
- Let the children go wild decorating the fish by sticking the tissue paper squares onto the sticky window. Continue until the sticky paper is completely covered with tissue paper.
- Take the second piece of sticky back plastic. Stick it on top of the fish (sticky side to sticky side) so the tissue paper is sandwiched in the middle. Trim around the fish with scissors to neaten.
- Punch a hole in the top of the fish. Thread through a length of thin ribbon and knot to make a hanging loop.
- Display your ocean themed sun catcher in the window.
Why not try this out with other shapes too such as Autumn leaves or Butterflies ...it's such a simple craft idea with endless possibilities!
We would love to see how you get on! Send us pictures of your masterpieces on Facebook or Instagram by tagging us or using the hashtag #ExploreWithEYR


