

How to Make Your Own Handprint Christmas Cards
Posted by EYR Team on 20th Nov 2017
read more
What could be more personal than a handmade card for Christmas? Not only a personal touch but these festive crafts will keep your little ones entertained for hours as they make cards for their family and friends.
To make your handprint Christmas cards you will need:
- A variety of different coloured card
- A selection of paints
- A glue stick
- Scissors
- Additional decorations such as glitter, cotton wool, pom poms and ribbon
This design is a fun and messy craft for your little ones to get immersed in. They will also be fascinated by the different festive characters that their handprint will transform into.
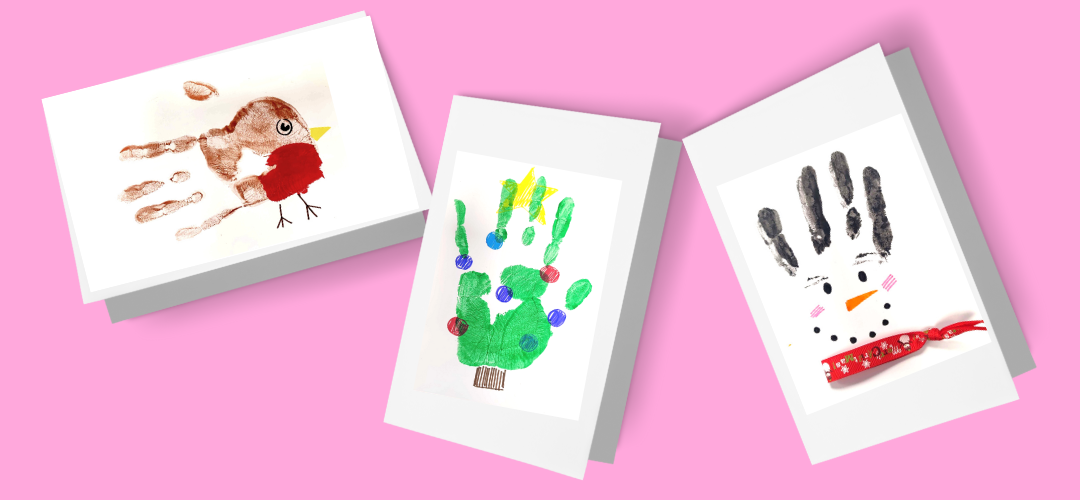
- Start by choosing your paints - the the robin we chose brown for the body and red for its distinctive red chest
- Next take a piece of card and fold it in half to create your greetings card
- Then, let your little ones dab their hand into the paints or brush it on themselves, adding the red into the space opposite their thumb.
- Next simply press your hand onto one side of your card and lift up to see your handprint. Let the paint dry for a little while
- Once the paint is dry it's time to add your robin's features. Add a pair of little legs and an eye and then cut a small triangle from a piece of yellow card and glue in place for a beak!
- Finally add your festive message inside for your chosen person!
You can repeat this process as many time as you like to create different designs, we decided to make a little robin, a bright green Christmas tree and Jack Frost!
We would love to see how you get on with your handprint Christmas cards and what other designs you came up with! Share your pictures with us on social media by tagging us or using the hashtag #ExploreWithEYR